
-
The web team has placed a new Magnet Template Interior page in your website's Academics--> Learning At Our School (Elem) or Academics-->Academic Pathways (Middle/High) section.
Follow the instructions below to customize the new Magnet Template Interior Page for each Magnet Program at the school. The content for this page is provided by your schools Magnet Coordinator.
Step 1: Change Page Name
-
Sign In to Schoolwires (if you aren't already)
-
Access the Site Manager from User Options
-
Choose User Option, Site Manager
-
Left column, select Academics
-
Under Sections, Select Learning at Our School (Elem) or Academic Pathways (Middle/High)
-
Locate page **New Magnet Template Interior Page *** DO NOT DELETE
-
Select the Actions dropdown, click Page Options
-
Change Page Name to the name of the Magnet Program
-
Click Save
Step 2: Update the Program Overview - Content App
-
Click the green pencil to edit the app
-
Change the app title by clicking on the “App Options” on the top right corner.
-
Add the Magnet Program Name to the App Name field
- Show app name box must be checked
- Click SAVE
-
Add the Program Overview Paragraph (delete all the content in box first)
- Click Save
Step 3: Update the Program Offered - Content App
- Click the green pencil and add the school's magnet program offering
- Click SAVE
Step 4: Add Apply Now to a Magnet Program Button (Shared App)
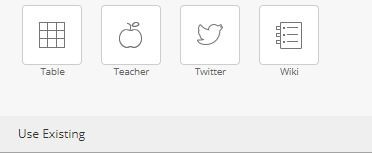
- Select Use Existing to add an existing app
- Select the app type – Content
- Search app title
- Enter Apply Now to a Magnet Program into the Find box
. - Drag app and place to the right of Program Offers
Step 5: Update the Academic Requirements - Content App
- Click the green pencil and add the school's magnet program academic requirements
- Click Save
Step 6: Update the transportation information - Content App
- Click the green pencil and add the school's magnet program transportation information.
- Click Save
Step 7: Update FAQs - Accordion App
- Click the green pencil to add the FAQ's information.
- Select New Story
- Add the FAQ Question to the Story Title
- Add the Answer to the Story Body
- Click SAVE
- Repeat these steps to add all the FAQs
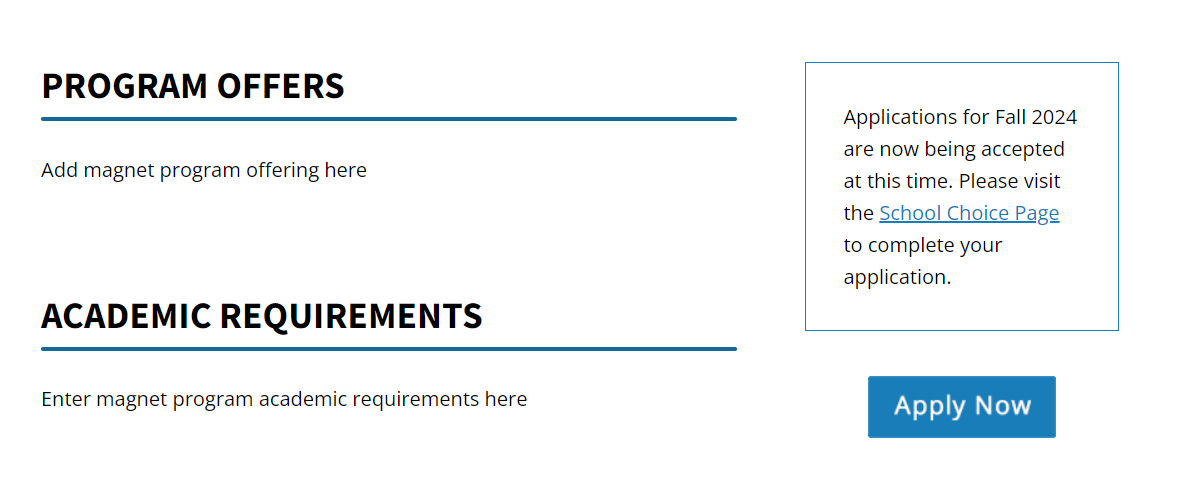
Step 8: Review
- Preview the page and review your work. See example below
- Repeat Steps 1-6 to create additional pages for Magnet Programs at your school.
- Remove viewers so that the page can be seen by the public.
- After reviewing the page and your work, click the purple X to close the page.
- Click Actions-->Page Options
- Un-check
- Click Save.
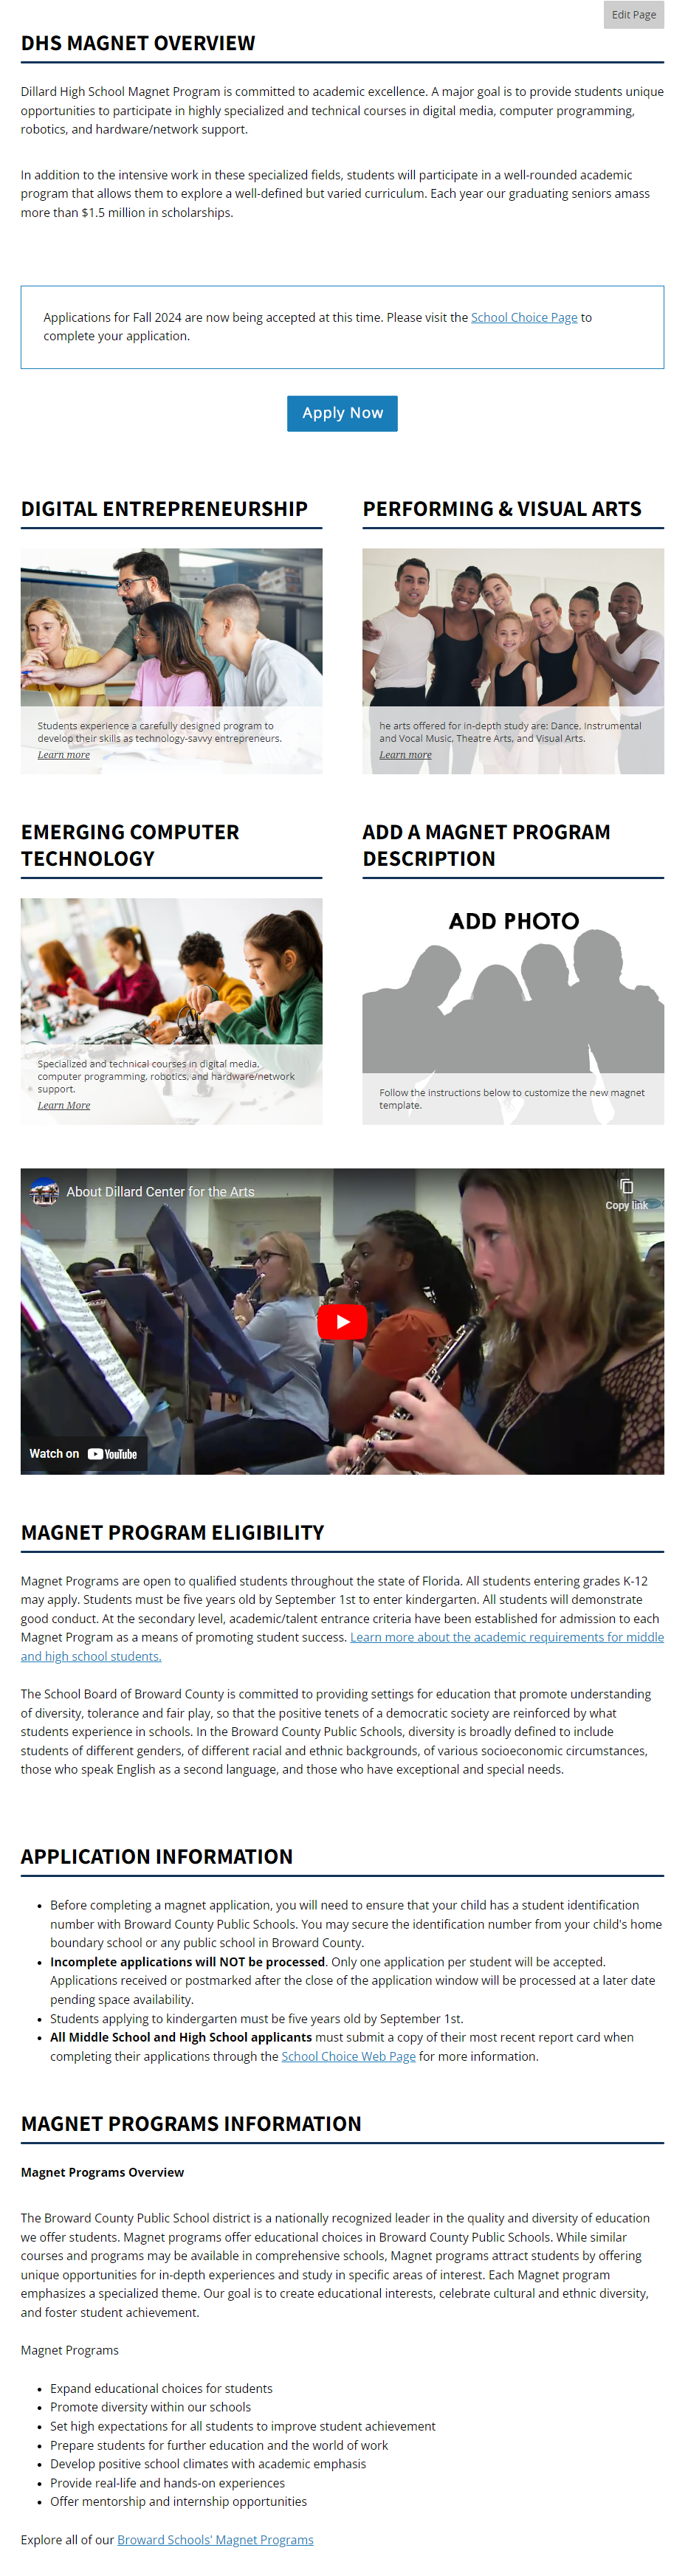
Below is an example of how your Magnet Program Interior web page should look. Please review the page.
-
-
The web team has placed a new Magnet web page on your website's Academics--> Learning At Our School (Elem) or Academics-->Academic Pathways (Middle/High) section. Follow the instructions below to customize the new magnet template.
Step 1: Change Page Name
-
Sign In to Schoolwires (if you aren't already)
-
Access the Site Manager from User Options
-
Choose User Option, Site Manager
-
Left column, select Academics
-
Under Sections, Select Learning at Our School (Elem) or Academic Pathways (Middle/High)
-
Locate page **New Magnet Template***DO NOT DELETE
-
Select the Actions dropdown, click Page Options
-
Change Page Name to Magnet Program or Magnet Programs (for schools with more than one program)
-
Click the Save button
- Select the Actions dropdown, click Page Options
- Click Edit page
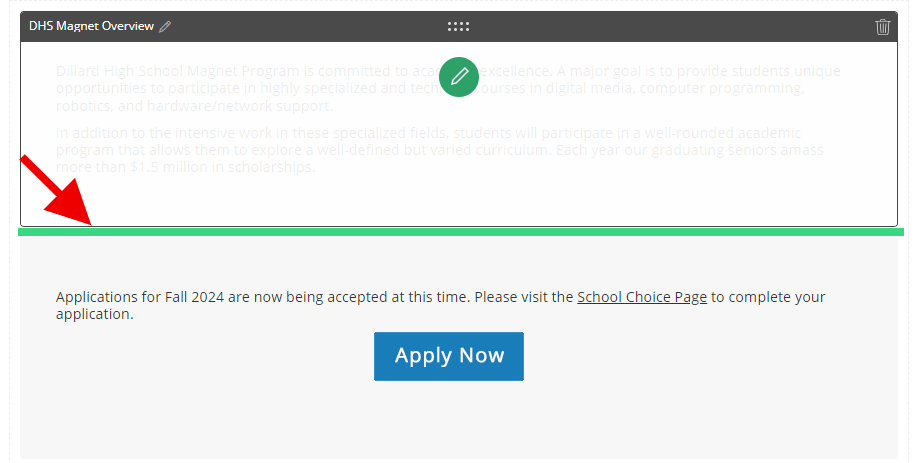
Step 2: Update the Magnet Overview content app
- Select the green pencil to edit the [School Initials] Magnet Overview - content app
- Select App Options to update the title.
- In the App Name text box, highlight and delete [School Initials] and then add your school's initials.
- – Example - DHS Magnet Program Overview (please note, do not include the brackets)
- – Example - DHS Magnet Program Overview (please note, do not include the brackets)
- Select SAVE
- Edit Text box
- Add the school's magnet overview paragraph(s). This information is provided by your school's magnet Coordinator.
- Select SAVE
Step 3: Add Apply Now to a Magnet Program Button (Shared App)

- Select Use Existing to add an existing app
- Select the app type – Content
- Search app title
- Enter Apply Now to a Magnet Program into the Find box
. - Drag app and place under the Magnet Overview
Step 4: Add and personalize each magnet program offered at your school using the Multi-Media Gallery (MMG) app
Add Program Information
(ab: 1a: click the app "TITLE" and add the name of the Program)
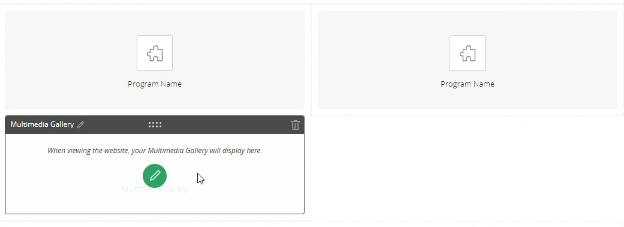
- Click the green pencil to edit the multimedia gallery app called Program Name
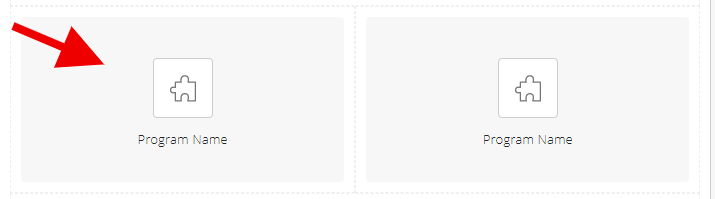
- Click App Options in the upper right corner
- Type in the name of the magnet program in the App Name box
- Make sure the checkbox is selected for Show the app name on my page
- Click save (ab: 4a: click GREEN pencil to open "record' app/box)
- Click on the edit button to the right of the current record
- Add the title of the magnet program. Keep the checked box to hide the title.
- Add the Caption
-
- Enter a short description about the program provided by the Magnet Coordinator at your school. The word count should not exceed 16 words or 114 characters. Use Word Counter to find the number count.
- Enter a short description about the program provided by the Magnet Coordinator at your school. The word count should not exceed 16 words or 114 characters. Use Word Counter to find the number count.
Add an ImageIn this section, you can use preselected images or upload personalized images for your school's program. When uploading an image, ensure the image size is 574w X 430h. Use the image editor to resize your images.
Instructions for uploading preselected images:
- Click, Select File to add an image
- Under Insert Image, select Shared Image and under Choose Folder, select Magnet
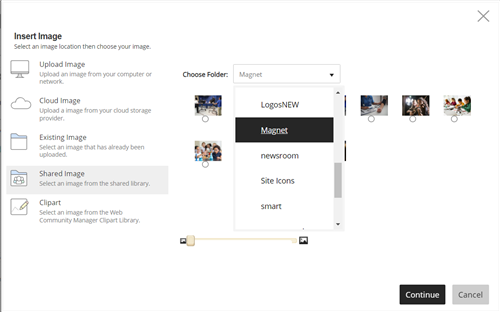
- Choose the appropriate image for the program, click Continue, and select, Insert Image
- Add the image alt text
- Check link Record
- Type Learn More in the link text
- Open a new window and go to the new page you created for this magnet program. Copy the web address of the previously created new magnet program page and paste the URL in the Web Address box.
- Check activate on my page
- Click save
- Click the purple X to exit
Repeat the steps above to update the MMG app placed in the right column.
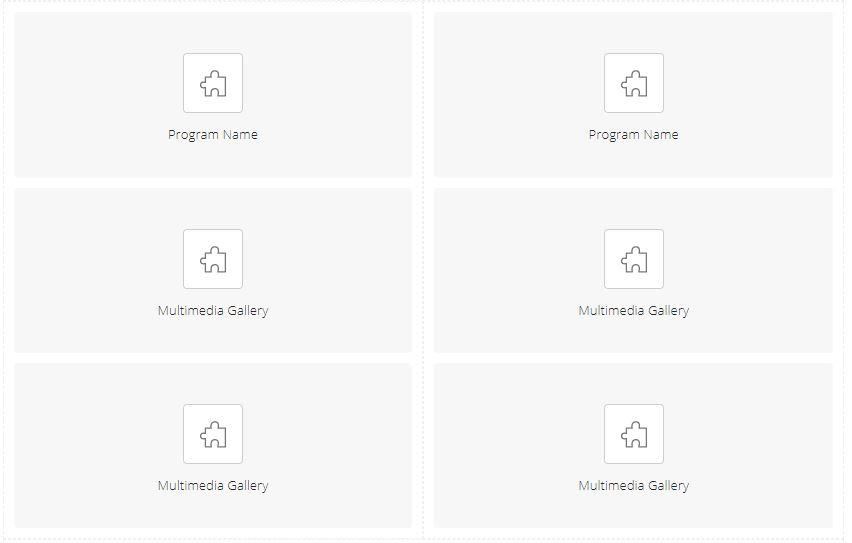
Adding Additional Programs - Repeat the steps above to add information about each program in your school's magnet program
- Go to Apps, find MMG
- Select and drag the MMG app and place below the first program
- Select and drag the MMG app and place below the second program
- Follow the steps above (1 and 2) to place the MMG app properly for each magnet program. See the screenshot below to see how additional apps are placed in this section.
Step 5: Add Video to promote the Magnet Program
- If the magnet program has a video, add a video using the embed code app.
Videos can be uploaded to Streamview or Youtube. WCM's are eligible for StreamVu to use in uploading, hosting, and captioning videos. For access, contact Chuck Griffin at iptv@browardschools.com. For step-by-step instructions on how to use StreamVu, visit https://www.browardschools.com/Page/62032. - If the magnet program does not have a video, delete the embed code app by clicking the trash can on the right corner of the app.
Add a Video
-
- Locate and copy the EMBED CODE for the video
- Open the Add a Video Embed Code App
- Delete the source code in the app
- Paste the embed code for the magnet program video
- Select Options in the upper right corner, remove the checkbox to show the app name
- SAVE and Check the page to see if the video has been uploaded
- Locate and copy the EMBED CODE for the video
- Correct Video Deminsions
- Open Embed App
- Replace the width with 100% (example <iframe width="100%")
- Replace the height with 415 (example <iframe width="100%" height="415" )
- Open Embed App
-
If assistance is needed with adding a video, submit a Helix Remedy Ticket
Step 6: Add Magnet Program Eligibility - Shared Content App
- Select Use Existing to add an existing app
- Select the app type – Content
- Search app title
- Enter Magnet Program Eligibility into the Find box.
- Place the app below the video or program details if you do not have a video on the page
Step 7: Add Application Information - Shared Content App - Select Use Existing to add an existing app
- Select the app type – Content
- Search app title
- Enter Application Information into the Find box.
- Place the app below the magnet program eligibility content app
Step 8: Add Magnet Programs Information / (will request to change name to Magnet Programs at BCPS)- Shared Content App - Select Use Existing to add an existing app
- Select the app type – Content
- Search app title
- Enter Magnet Programs Information into the Find box.
- Place the app below the Application Information eligibility content app
Step 9: Check your work
Below is an example of how your Magnet Program web page should look. Please review the page.
NOTE: The New Magnet Opportunity and/or Apply Now to a Magnet Program apps may not be visible on the page when the magnet window is closed for applications. If you have questions or need assistance, contact the IT Service Desk at 754-321-0411.- After reviewing the page and your work, click the purple X to close the page.
- Click Actions-->Page Options
- Un-check
- Click Save.
-